

Images make websites pop, but they can also weigh down your WordPress site. By applying image optimization best practices, you can shrink file sizes and boost page load speed.
That means happier visitors and fewer bounces. In this guide, I’ll walk you through how to optimize images for WordPress. You’ll learn how to pick the right format, compress files, and lazy load assets.
Understand Image Impact
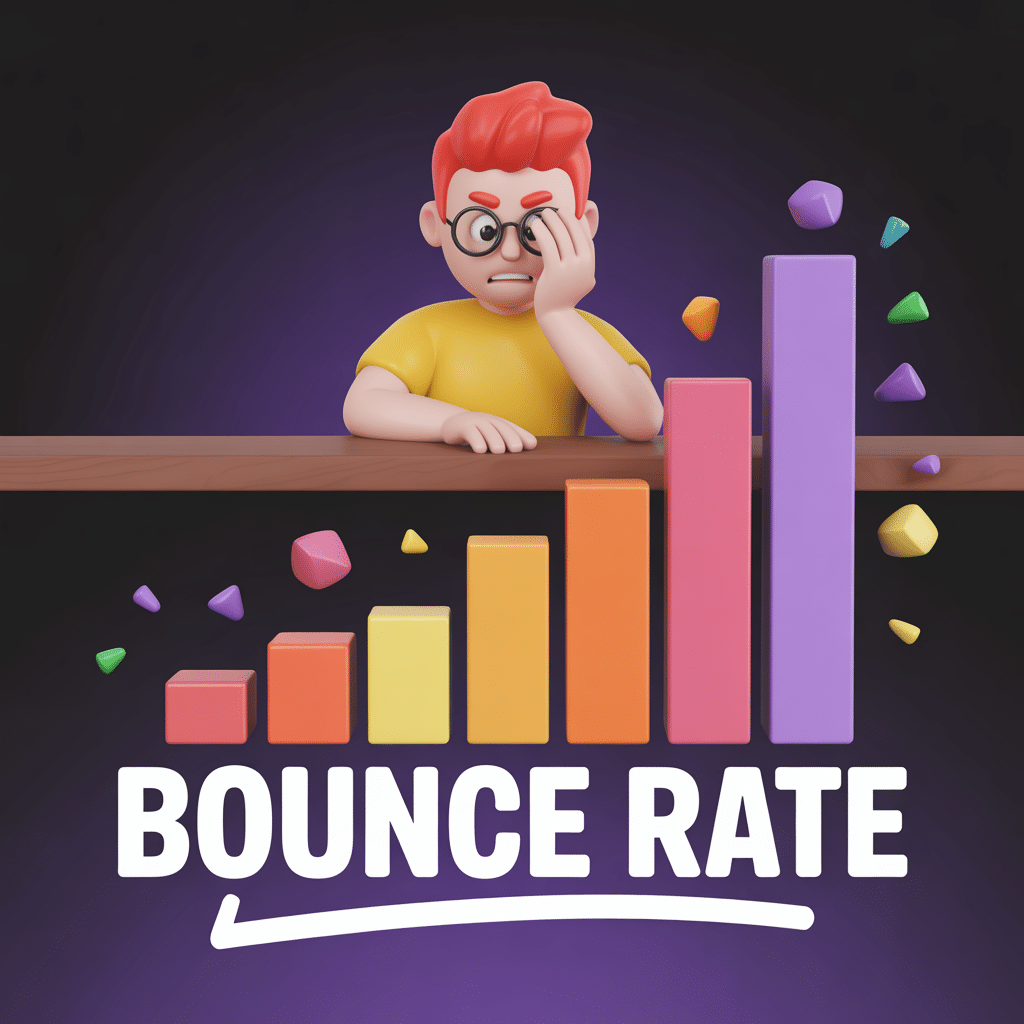
Large images can slow a WordPress site more than any other asset. In fact, images make up about 64 percent of a page’s weight. Slow loading drives up bounce rates, nearly 40 percent of visitors leave if a page takes longer than three seconds to load.
- Higher bounce rate: 24 percent at 2.4 seconds
- Lower SEO rankings: page speed is a ranking factor since 2010
- Reduced conversions: 79 percent of unhappy shoppers avoid slower sites
So trimming image sizes goes a long way.
Choose Optimal Formats
Choosing the right file format helps you balance quality and file size. JPEG works best for photos, PNG handles transparency, and modern formats like WebP can cut file size by up to 35 percent compared to JPEG and PNG. SVG is great for logos and icons.
| Format | Best Use | Pros | Cons |
|---|---|---|---|
| JPEG | Photography | Small size, broad support | No transparency, quality loss |
| PNG | Graphics, transparency | Lossless quality, supports alpha | Larger files than JPEG |
| WebP | Photos, graphics | 35% smaller than JPEG/PNG | Not supported by old browsers |
| SVG | Logos, icons | Scalable, tiny file size | Not for photos; security risk |
Pick a format based on content type and browser support.
Resize Images Properly
Resizing images before upload prevents WordPress from serving oversized files. Aim for widths around 1000 pixels for content images. Always maintain aspect ratio to avoid distortion.
- Use a tool like Photoshop or free options such as GIMP
- Match image dimensions to your theme’s display size
- Let WordPress generate multiple sizes via Settings → Media
This simple step prevents themes from scaling down huge originals.
Apply Compression Techniques
Compression trims image file size while keeping quality intact. Lossless compression preserves every pixel, while lossy methods drop some data to shrink files.
| Technique | Quality | File Reduction |
|---|---|---|
| Lossless | 100% original | ~10–20% |
| Lossy | Slight quality drop | 50–80% |
For automated workflows, try one of these plugins:
| Plugin | Methods | Free Limit | Premium Plans |
|---|---|---|---|
| EWWW Image Optimizer | Lossy & lossless, CDN, WebP | Unlimited | $7/mo for CDN and unlimited |
| Smush (WPMU Dev) | Lossy, WebP conversion | 5 MB/image unlimited | $7.50/mo for CDN & WebP |
| ShortPixel | Lossy & lossless | 100 images/mo | Credit packs from $4.99 |
| Imagify | 3 compression levels, WebP | 20 MB/mo | $4.99/mo for 500 MB |
| Kraken.io | Lossless & intelligent lossy | 100 MB total | $5/mo for 500 MB |
Pick a plugin that fits your workflow and budget.
Leverage Lazy Loading
Lazy loading delays offscreen image loading until the user scrolls near them. That cuts initial page weight and speeds up perceived load times.
Want to defer offscreen images?
WordPress has native lazy loading since version 5.5. Just add loading="lazy" to your image tags or let the core handle it automatically.
How to lazy load images in WordPress:
- Rely on the built-in
loading="lazy"attribute to lazy load WordPress images by default - Install a plugin like Lazy Load by WP Rocket for custom settings
- Test implementation by scrolling and checking network requests
Native lazy loading works well, but a plugin can offer more control.
Optimize Alt Text And Names
Alt text helps screen readers and search engines understand images. Descriptive file names add SEO context too.
- Keep alt text under 125 characters to avoid being cut off
- Write clear descriptions, including relevant keywords when natural
- Rename files descriptively rather than IMG_001.jpg
Good alt text and file names boost accessibility and search visibility.
Use CDN And Caching
A CDN distributes your images across global servers, reducing latency. Caching plugins serve optimized assets without repeated compression.
- Add a CDN service like Cloudflare or Jetpack’s Site Accelerator
- Enable browser caching via a plugin or .htaccess rules
- Purge cache when you update images
For general site tweaks, see our website performance checklist.
Combining CDN and caching magnifies speed gains.
Monitor Site Performance
Regular checks keep you from drifting back to slow load times. Use tools like Google PageSpeed Insights or GTmetrix to track image-related metrics.
- Schedule monthly audits
- Focus on Largest Contentful Paint and Total Blocking Time
- Compare before-and-after metrics when applying changes
Tracking key metrics ensures your site stays fast.
Review Key Takeaways
- Understand that images account for most page weight and affect bounce rates
- Choose the right format – JPEG, PNG, WebP, or SVG based on content
- Resize before upload and maintain aspect ratio
- Compress with lossless or lossy methods using plugins
- Leverage lazy loading to defer offscreen assets
- Optimize alt text and file names for accessibility and SEO
- Use a CDN and caching to serve images quickly
- Monitor performance metrics to keep your site speedy
Now give it a try: start by compressing an image and measuring the gain. Let us know which tip shaved seconds off your site speed in the comments!